

Hello Coders, I hope you all have completed your first website project in Python Django Framework. Now, It’s time to deploy that website on server like Heroku. After Deployment, you any one can easily see your Django website online live.

Deploying A Django website on Heroku server is much easier as compare any other platform. All you need to just pay some attention before deploying your website. Therefore, In this article I’m gonna give Full Guide from scratch that How To Deploy Your Django website Freely on Heroku Server.
So, Please read full article carefully and don’t miss any steps. Because If you will miss any steps then you might have to face some issue in deployment. Let’s start our Heroku deployment tutorial…
Steps To Deploy Django Website On Heroku:
Basically, I’ve divided entire deployment process into 2 different phases. The first phase going to take place “Before Deployment” and Second Phase will be about “Deployment Process“.
Before Deployment Process:
Let’s see that what we need to configure and manage before deploying our website to heroku server.
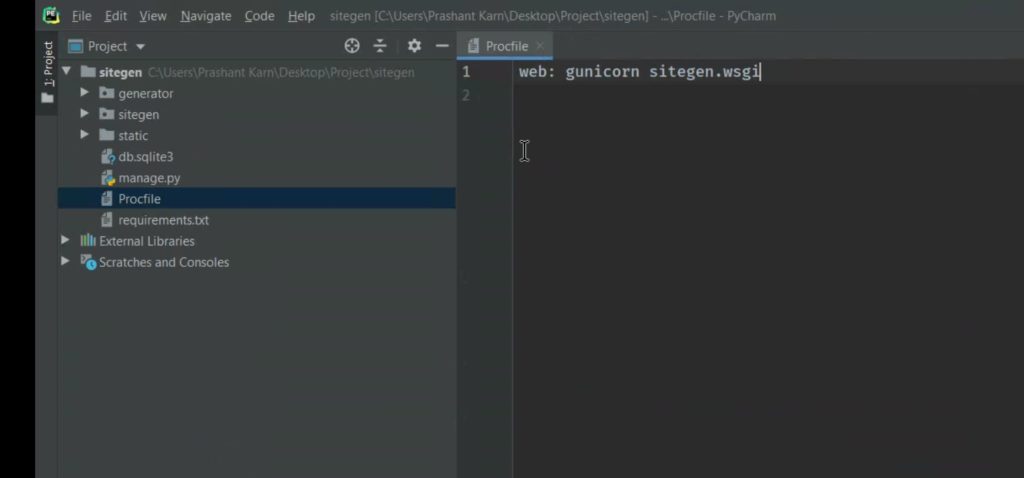
1). First Create a File called “Procfile” without an extension inside your Root directory of your project and then write inside following context inside your file
web: gunicorn root_folder.wsgi
Don’t Forger to change here “root_folder” with your Project name and then just save it.
2). If you have any css or static file then don’t forget to mention and add that into settings.py file. So, that It could be recognize by your Main app.
In “Settings.py”, Add:
STATIC_ROOT = os.path.join(BASE_DIR,’static’)
Or (If any Errors), Then Add:
STATICFILES_DIRS = [ os.path.join(BASE_DIR,’static’) ]
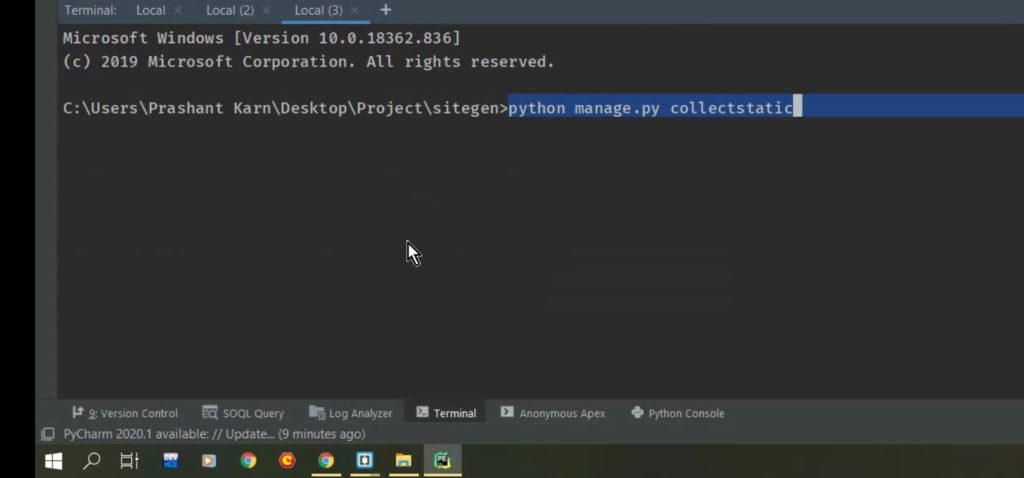
3). Now Inside your terminal of main root directory of project type following command:
“python manage.py collectstatic”
4). Now You need to enter following command inside your terminal to add requirements file.
“pip freeze > requirements.txt”
Now Once you have done all above steps, then let’s move to second phase of our deployment process.
Second Phase: Deploying Process On Heroku
Now Before heading towards steps of Deployment Django to Heroku, First you need to install two packages called “whitenoise” and “gunicorn“. You can install both packages using command:
“pip install whitenoise”
“pip install gunicorn”
Now, Let’s head towards our deployment steps of django website to heroku:
1). In “Settings.py” file, Add In MIDDLEWARE section at second position:
'whitenoise.middleware.WhiteNoiseMiddleware',

2). Now You Need To SignUp and Create an Account on Heroku.
3). Once you have registered then sign in an Create APP e.g:

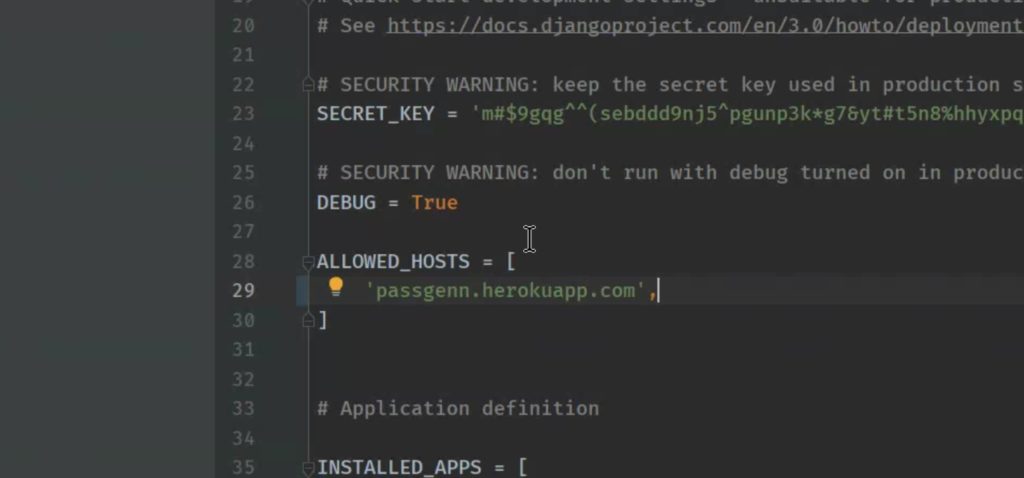
4). Now In Settings.py File add “yourappname.herokuapp.com” inside ALLOWED_HOSTS
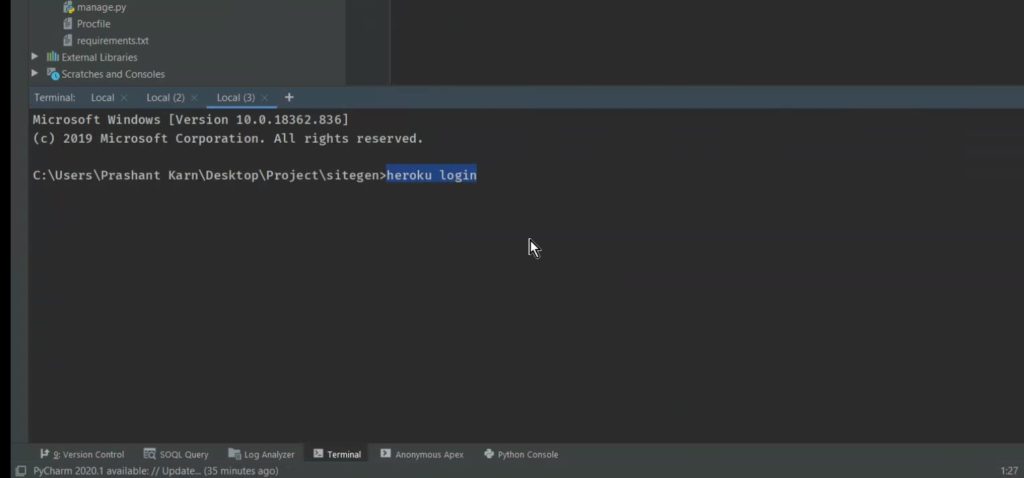
5). Now In terminal of Project Root Directory type following command.
“heroku login”
6. Once you’ve logged in then type following commands one by one.
>>git init
>>git add .
>>heroku git:remote -a appname
>>git commit -m “first commit”
>>git push heroku master
Once you’ve completed all above process then you would get message on terminal something like this:
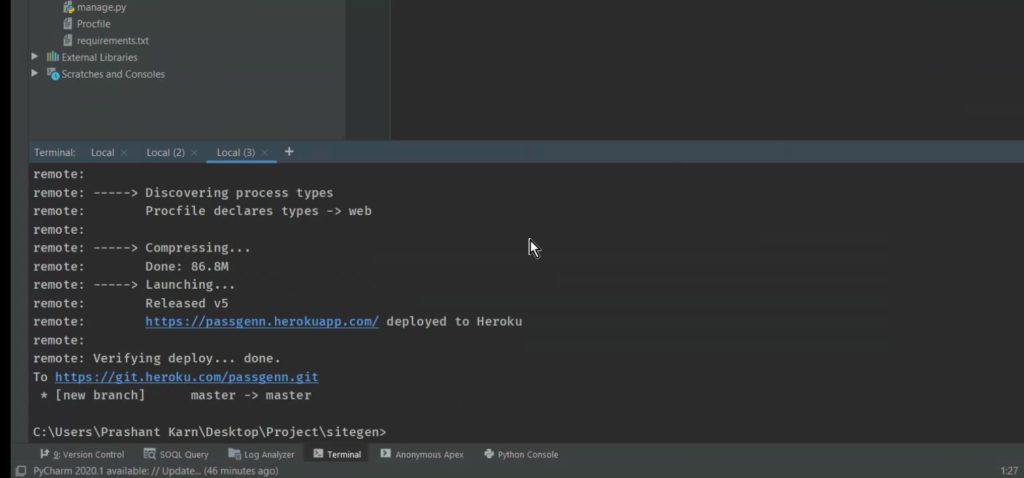
7. Congratulation, Now Your Django Website is Live

You May Also Like: How To Improve You Coding Skills(Tips)
If you would like to make changes then you can easily do that through given commands:
Make Sure You Made all change before applying following commands.
>>git add .
>>git commit -m “commit”
[Make sure change git befor push]
>>”git push heroku master” or “git push -u origin master”
So, I hope you all would like this article. If yes then please don’t forget to share this article with your friends. You can also follow our blog via email to get future updates regarding career development and programming.
&media=https://www.codechit.com/wp-content/uploads/2020/05/PicsArt_05-19-05.56.26_2606-1024x576.jpg)
1 thought on “Python Django Website Deployment To Heroku (GUIDE)”