

Hi Coders, Today, I’m going to give you full tutorial about “django-crispy_forms”. It will help you to customize your django-forms with Bootstrap 4 themes. Here, you don’t need to define or write bootstrap code explicitly to customize your django forms.
Here, I’ll give you full tutorial that how you could install crispy-forms and use it in your django forms. Please read full article carefully till the end.
Installation
First of you all have to install package called “django-crispy-forms” by using pip:
pip install django-crispy-formsOnce you’ve installed this above package then you need to add this inside your INSTALLED_APPS of Settings.py file.
settings.py:
INSTALLED_APPS = [
    '...'
    '...'
    .
    .
    'crispy_forms',   # Add This
]

CRISPY_TEMPLATE_PACK = 'bootstrap4'  # Add This
Django Form Creation
Now Firstly, Let’s create A django form, so that we can use our django-crsipy-forms over that. I’m going to derive a django form from my existing model
models.py:
from django.db import models
from django.contrib.auth.models import AbstractUser

class CustomUser(AbstractUser):
    gender_type = (
        ('male', 'male'),
        ('female', 'female'),
        ('others', 'others'),
    )
    address = models.TextField()
    gender = models.CharField(default=1, choices=gender_type, max_length=15)
Now let’s create our custom form in forms.py. I’ve written following code to create a form:
forms.py:
from django import forms
from .models import CustomUser
from django.contrib.auth.forms import UserCreationForm

class RegisterationForm(UserCreationForm):
    class Meta:
        model = CustomUser
        fields = ['username', 'address', 'password1', 'password2']
Now You need to setup your Bootstrap4 inside you html file. Because I’m driving ‘singup.html’ from ‘base.html’. I’ll add Bootstrap4 CDN inside my base.html file.
Bootstrap CDN:
<link rel="stylesheet" href="https://stackpath.bootstrapcdn.com/bootstrap/4.5.0/css/bootstrap.min.css" integrity="sha384-9aIt2nRpC12Uk9gS9baDl411NQApFmC26EwAOH8WgZl5MYYxFfc+NcPb1dKGj7Sk" crossorigin="anonymous">This is my ‘base.html’
<!doctype html>
<html lang="en">
  <head>
    <meta charset="utf-8">
    <meta name="viewport" content="width=device-width, initial-scale=1, shrink-to-fit=no">
    <link rel="stylesheet" href="https://stackpath.bootstrapcdn.com/bootstrap/4.1.3/css/bootstrap.min.css" integrity="sha384-MCw98/SFnGE8fJT3GXwEOngsV7Zt27NXFoaoApmYm81iuXoPkFOJwJ8ERdknLPMO" crossorigin="anonymous">
    <title>Registeration</title>
  </head>
  <body>
    <div class="container">
      <div class="row justify-content-center">
        <div class="col-8">
          <h1 class="mt-2">Sign Up</h1>
          <hr class="mt-0 mb-4">
          {% block content %}
          {% endblock %}
        </div>
      </div>
    </div>
  </body>
</html>
Now Let’s create our views.py file to save current call and save form:
views.py
from django.shortcuts import render, redirect, get_object_or_404
from .froms import *
from .models import *
from django.contrib.auth import login, logout, authenticate

def register(request):
    form = RegisterationForm()
    if request.method == 'POST':
        if request.POST['password1'] == request.POST['password2']:
            customer = CustomUser.objects.create_user(username=request.POST['username'],
                                                      password=request.POST['password1'],
                                                      address=request.POST['address'])
            customer.save()
            login(request, customer)
            return redirect('home')

    return render(request, 'customer/register.html', {'form': form})
Now let’s create our urls.py file, where we can see our website live.
urls.py
from django.urls import path
from . import views

urlpatterns = [
    path('register/', views.register, name="register"),
]
Now, we will create our register.html file and extend this html file from base.html. So, that we can access our Bootstrap feature.
register.html
{% extends 'base.html' %}

{% block content %}
  <form method="post">
    {% csrf_token %}
    {{ form }}
    <button type="submit" class="btn btn-success">Register</button>
  </form>
{% endblock %}
In above code of register.html, we didn’t use yet any crispy-form code. Let’s see how It would be look like now:
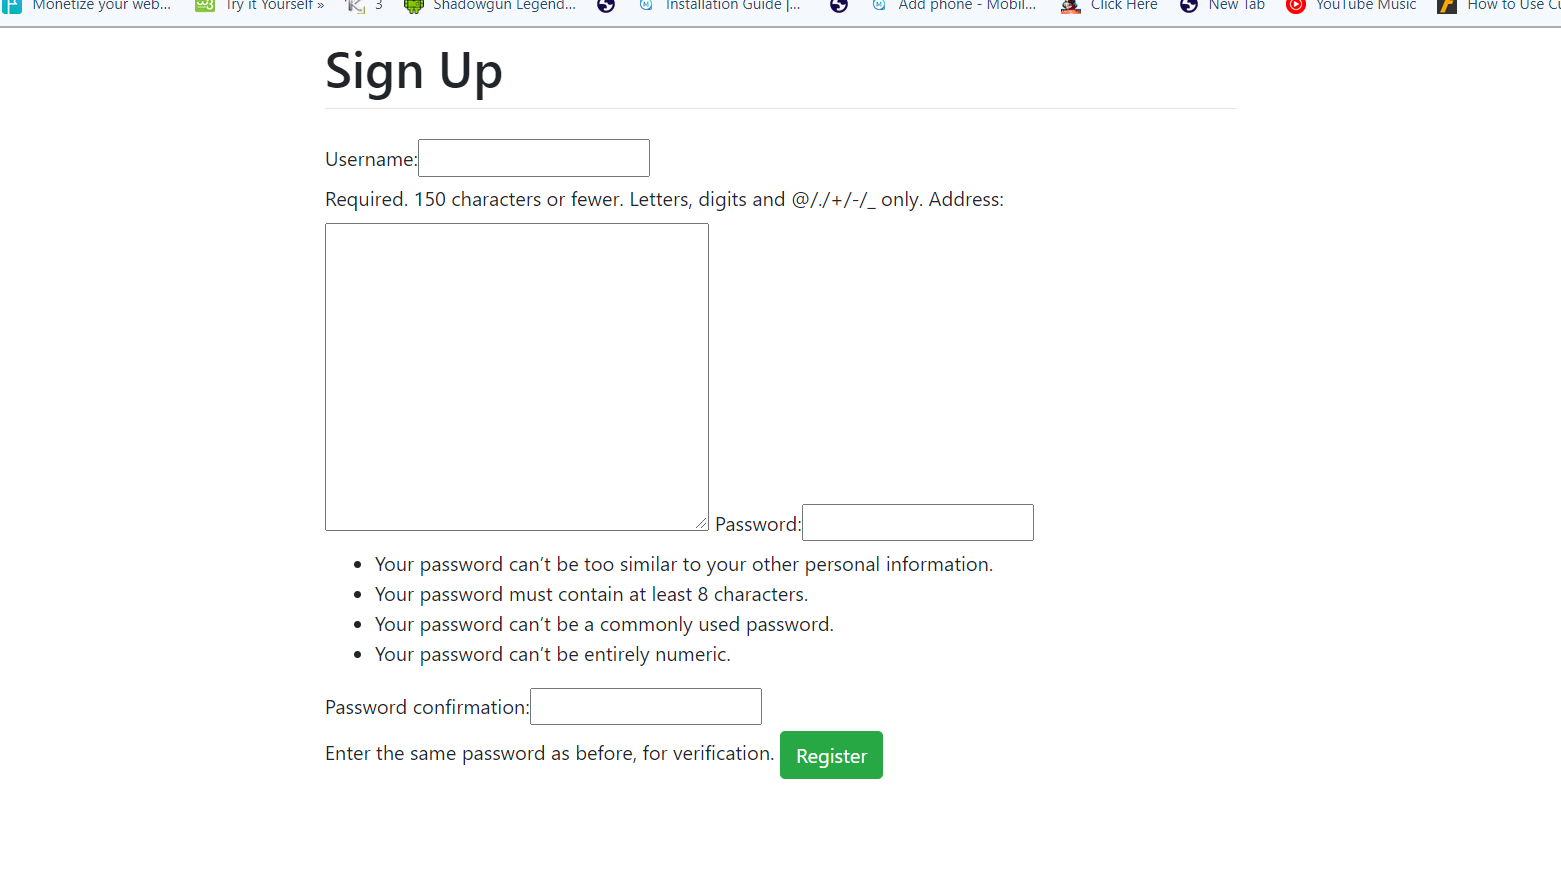
So, You can see that It’s looks so ugly right now. Now, It’s time to add our “django-crispy-forms” tags. So, To use django-crispy forms, First you need to add following code before {% block content %}:
{% load crispy_forms_tags %}After adding above tags then you need to use {{form|crispy}} instead of using just {{form}}
{% extends 'customer/base.html' %}
{% load crispy_forms_tags %}
{% block content %}
<form method="post">
{% csrf_token %}
{{ form|crispy }}
<button type="submit" class="btn btn-success">Register</button>
</form>
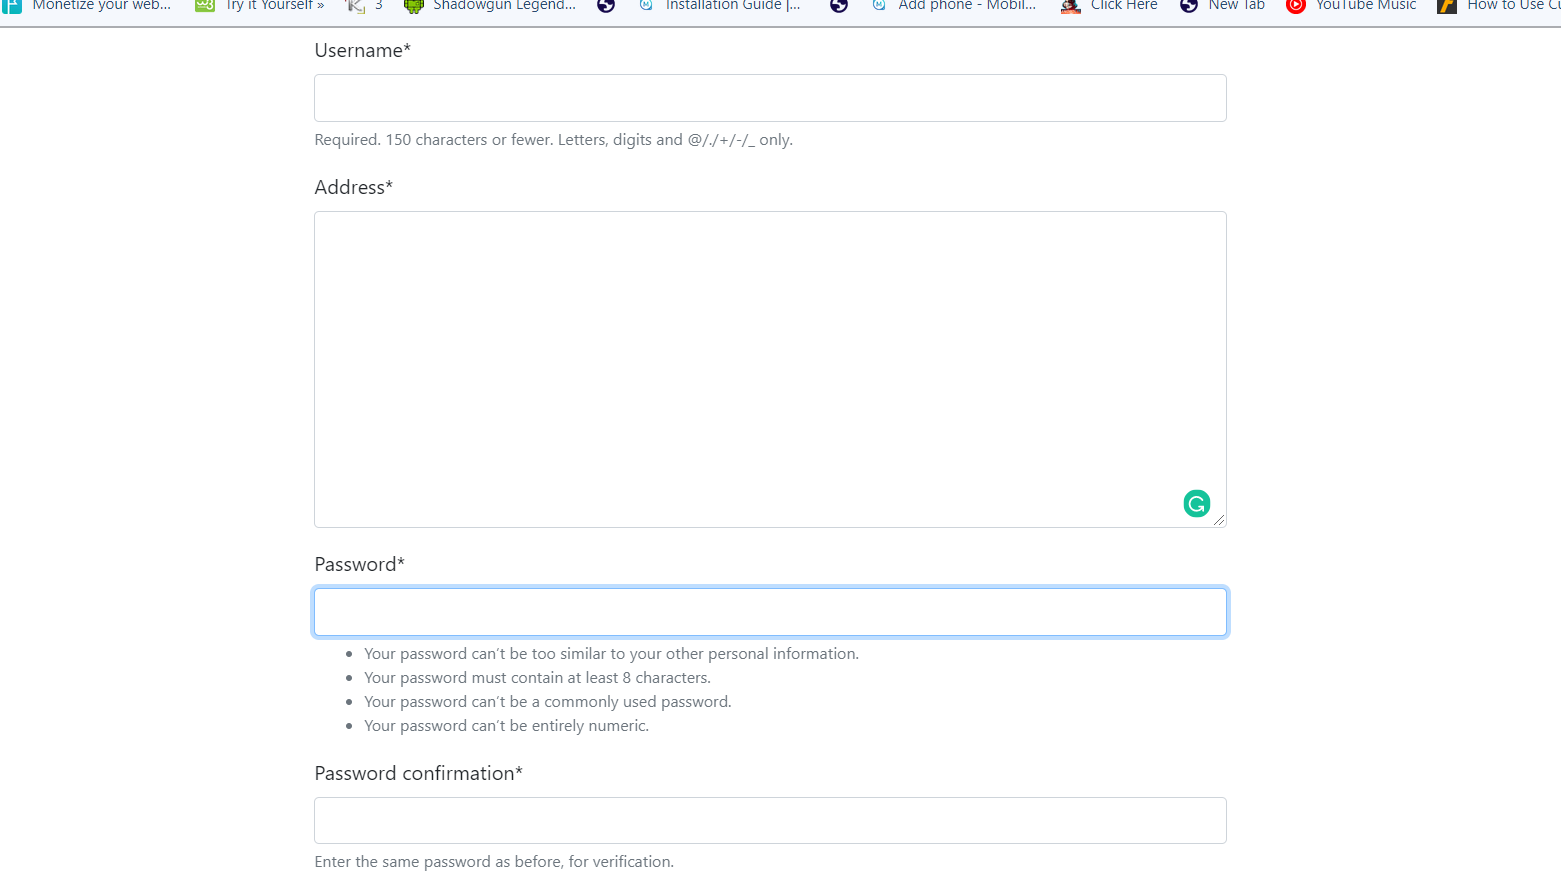
{% endblock %}Now you can see that your forms becomes so attractive and prettier than previous one. Because {{form|crispy}} tag added all those default bootstrap tags into your form automatically.
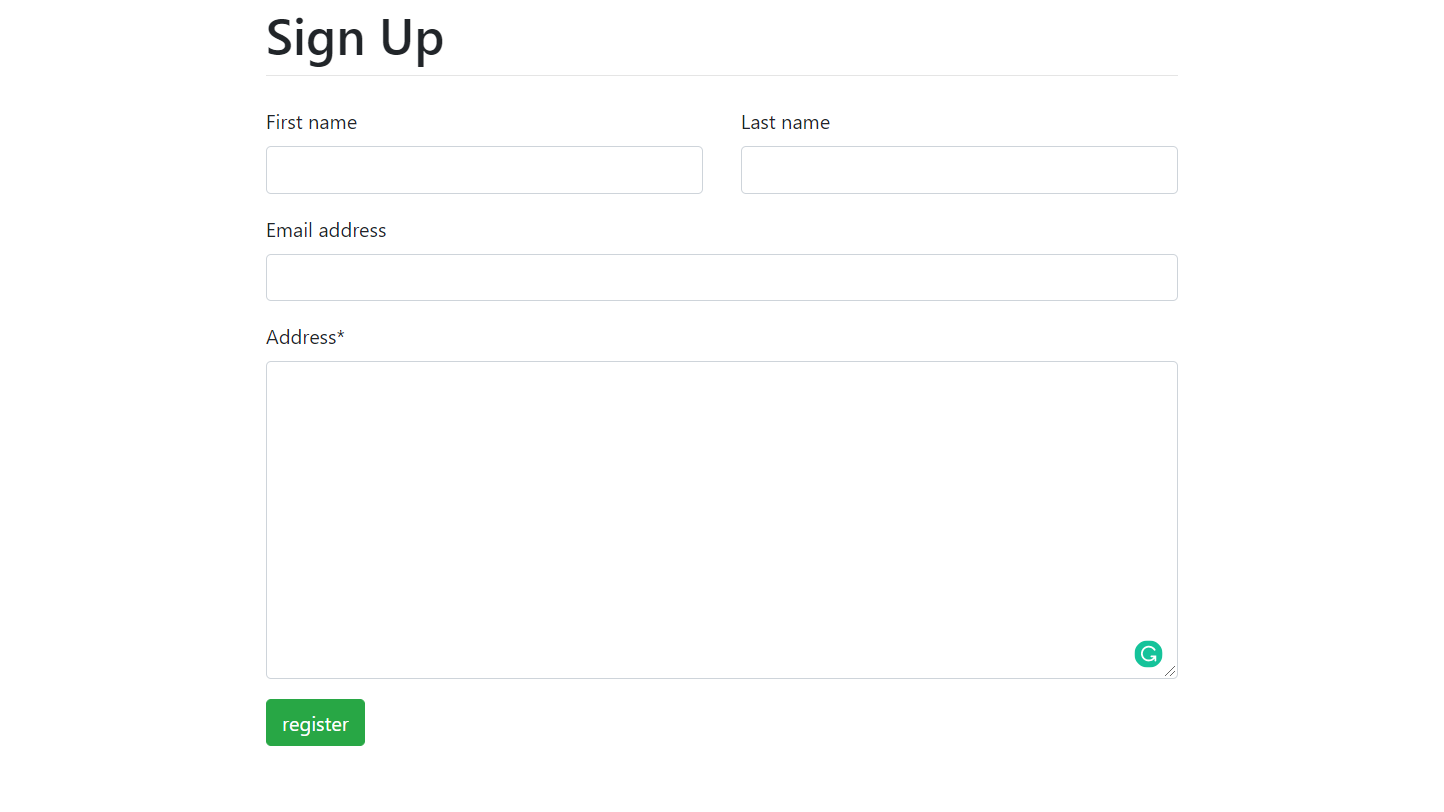
You can also add this tag {{ form.name|as_crispy_field }} to customize your each fields more beautifully.
{% extends 'customer/base.html' %}

{% load crispy_forms_tags %}

{% block content %}
  <form method="post">
    {% csrf_token %}
    <div class="row">
      <div class="col-6">
        {{ form.first_name|as_crispy_field }}
      </div>
      <div class="col-6">
        {{ form.last_name|as_crispy_field }}
      </div>
    </div>
    {{ form.email|as_crispy_field }}
    {{ form.address|as_crispy_field }}
    <button type="submit" class="btn btn-success">register</button>
  </form>

{% endblock %}
Now, You can see that applied row class has been applied over our form.
So, I hope you all would like this article about how to add bootstrap with you django-forms. It’s our full tutorial about django-crispy-forms.
You May Also Like : How To Deploy Django App To Heroku Server(Free)
If you are a passionate developer or blogger then don’t forget to subscribe our blog via email.
Thank’s For Reading…
1 thought on “How To Add Bootstrap 4 with Django Crispy Forms”