

Hey developers, you have a DJANGO project and want to deploy it somewhere on a cloud platform. So, that you can show it to someone easily. Today, I’m gonna show you how you can deploy your Django app to the Heroku cloud platform.
Heroku is one of the most powerful and reliable cloud platforms. On Heroku, you could host your different types of projects e.g Django, Node.js, etc. In this article, I’m gonna guide you step by step that how you can deploy your python Django application on the Heroku cloud platform. Don’t worry, We’re going to use the free tier to deploy our projects.
Deploy Django App to Heroku (GUIDE):
I’m going to divide this guide into 3 phases, where each phase will have several steps. By the end of this article, you will have good amount of knowledge to deploy your projects over Heroku.
PHASE 1: Initial Setup
First of all, you need to do some initial setup before deploying your projects.
1. Create Heroku Account and Login:
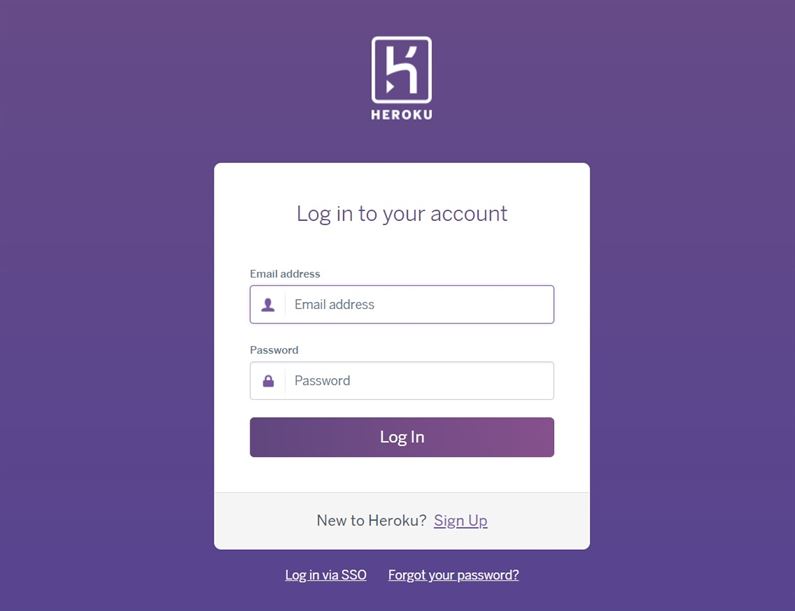
First of all, you need to have an account on Heroku in order to deploy any project on that platform. Go to Heroku official website and create an account for yourself: Click to create
Once you’ve created your account, now log in to your account via your credentials: Login here
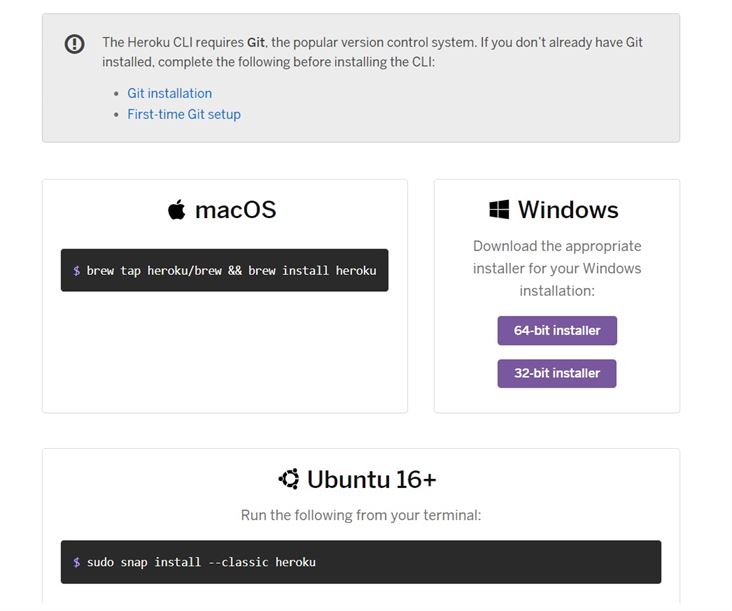
2. Install Heroku CLI and Git:
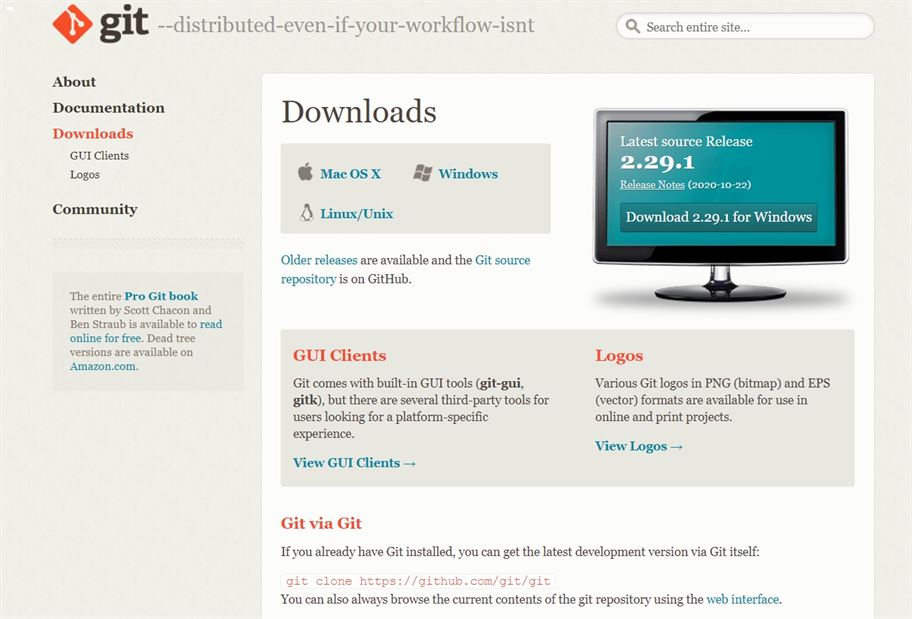
Now you need to install Heroku CLI in order to perform Heroku related functions, and then you also need to install Git (version control system).
To Install Heroku CLI: visit here
To install Git: visit here
Once you’ve installed both the tool then you can check it on CLI(To make sure) by using the given commands:
heroku –version And git –version
PHASE 2: Configuring Django Project To Deploy
Now we need to configure our Django project before deploying it to Heroku cloud platform. This is most important phase, so please, follow all steps very carefully.
1. Installing important packages:
You need to install two required python packages before deployment. These packages are “gunicorn” and “whitenoise“. You can install both packages by using pip or pipenv(for virtual env) command.
To install gunicorn package: “pip install gunicorn” and for whitenoise “pip install whitenoise“. Gunicorn will be used for the server and whitenoise will be used to manage static files.
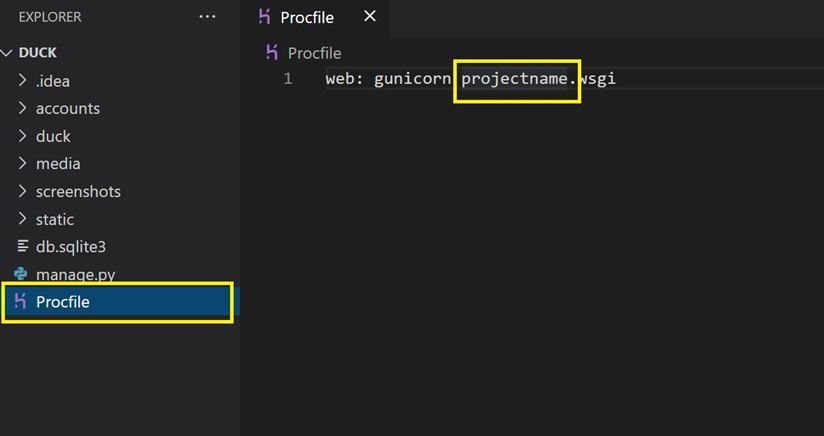
2. Creating Procfile into Root
Inside your project root folder, create a file named “Procfile“. Edit Procfile content and add following text:
web: gunicorn projectname.wsgiIn the above text, you need to write your project root folder name at the place of projectname. For example, my project root folder name is crm, so, I will enter something like this: web: gunicorn crm.wsgi.
Basically, WSGI(Web Server Gateway Interface) is a server gateway that we’re connecting with gunicorn.
3. Configuring Settings.py file
Now we need to make some changes inside the settings.py file. Open your settings.py, and here you need to add STATIC_ROOT path and MIDDLEWARERE.
Middleware: ‘whitenoise.middleware.WhiteNoiseMiddleware’,
# add whitenoise middleware right after first line
MIDDLEWARE = [
    '...',
    'whitenoise.middleware.WhiteNoiseMiddleware',
    '...',
    '...',

]

# add this
STATIC_ROOT = os.path.join(BASE_DIR, 'static')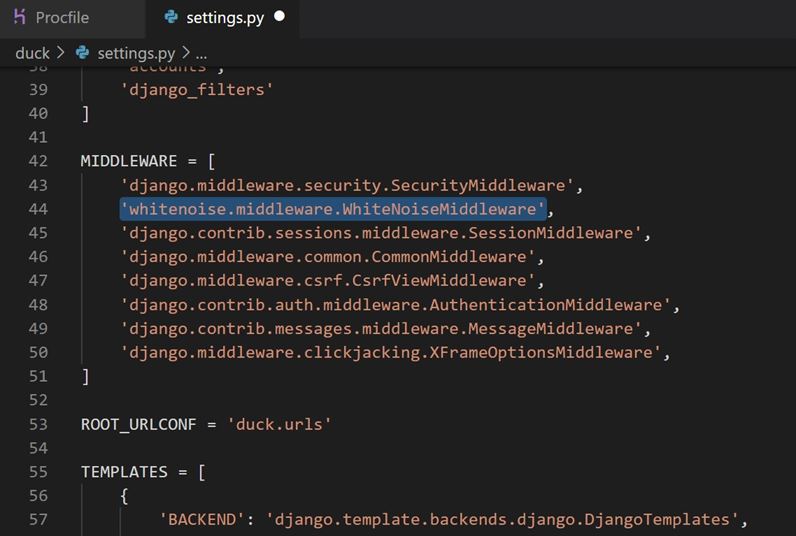
Now once you’ve added the following code into your settings.py file, then run the following command into your terminal to collect static files.
python manage.py collectstaticThen add requirements.txt file by using command “pip freeze > requirements.txt“.
PHASE 3: Deploying Django App to Heroku
Now, this is our final phase and now we’re going to deploy our Django project to our Heroku server.
Now open your terminal and get inside you project directory then type following command one by one:
- “git init”: To initialize git.
- “git add .”: To add all file into your git
- “git commit -m “initial commit”“: To commit files
1. Login To Heroku and Create app
Now you need to log in into Heroku in order create app and deploy your project. Type following command.
heroku loginIt will redirect you to log in page and then just click on that to log in. Once you’ve successfully logged in then type following command to create heroku app.
heroku createapp appnameI’m going to create a Heroku app with a name called “crmcreate“. Once you’ve created your app then you need to add one more thing into your settings.py file. you need to add a URL into your ALLOWED_HOST.
ALLOWED_HOSTS = [
    'crmcreate.herokuapp.com',
]
You need to place your app name url e.g “appname.herokuapp.com“.
Now again type command “git add . “and “git commit -m “heroku app””
2. Deploy your project
Now you just need to type one command to deploy your project, which is:
git push heroku masterThat’s it, Once your deployment will be done, then you will be able to check your website at “appname.heroku.com“. In my case, it would be “crmcreate.herokuapp.com“.
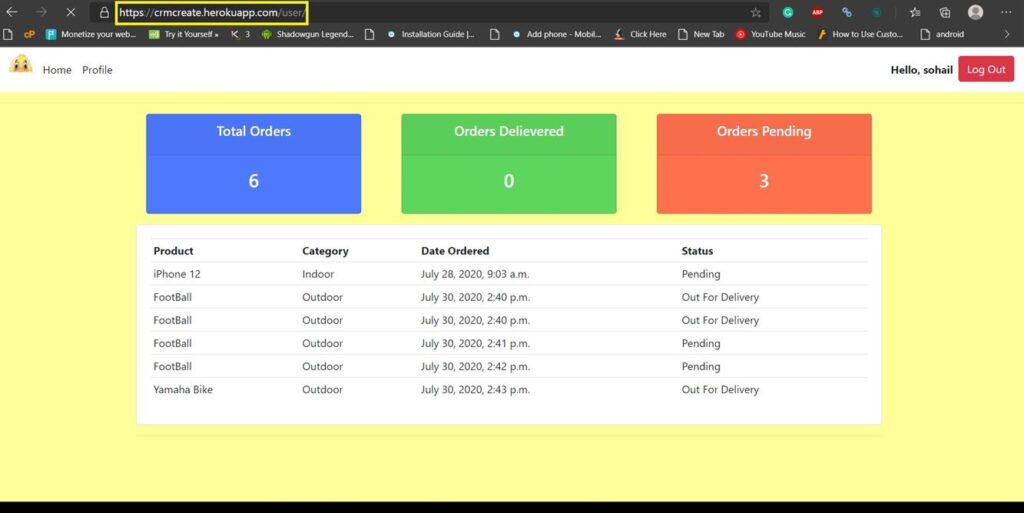
Congratulations, You successfully deployed your Django app to the Heroku cloud platform.
Read Also: How to connect PostgreSQL Database with Django
If you’re getting any error then following FAQ might be helpful.
Ans: To solve this error, Go to your Heroku dashboard and inside app settings, you will seep “buildpack” option. Click on “Add Buildpack” and select Python app. Then again make push: git push heroku master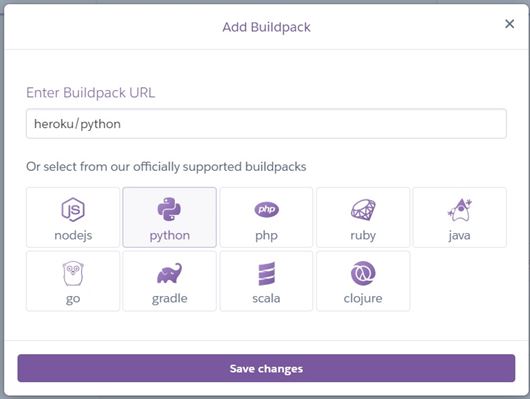
Ans: To fix this error, you need to set STATIC_ROOT path into your settings.py file e.g:- STATIC_ROOT = os.path.join(BASE_DIR, ‘static’)
Ans: To fix this add your url into your ALLOWED_HOST section of settings.py e.g
ALLOWED_HOSTS = [
‘crmcreate.herokuapp.com’,
]
Ans: Then make sure you’ve listed only the required packages inside your requirements.txt file.
So, I hope you liked this article about how to deploy django app to heroku. If you liked then please don’t forget to share this with other developers. You could also subscribe our blog to get notified with our upcoming posts.
Thanks for reading.